“Pretty Metal Warshipâ€
I have been on a quest for the perfect bicycle since 2005. I tried several. If the bike was not too stiff, it was too flexible. If it was comfortable it was heavy, and when it was light, it had twitchy handling. When the bikes handled well in the corners, they accelerated slowly, and those that were responsive to stomping on the pedals handled poorly on the descents.
I wanted it all. I wanted a geared bike with the option of running a single speed. I wanted a cyclocross race weapon that could keep up on a 60 mile group ride while giving me the stopping consistency of disc brakes. I wanted a bike that was light, stiff AND comfortable. I wanted a bike that no one else had.
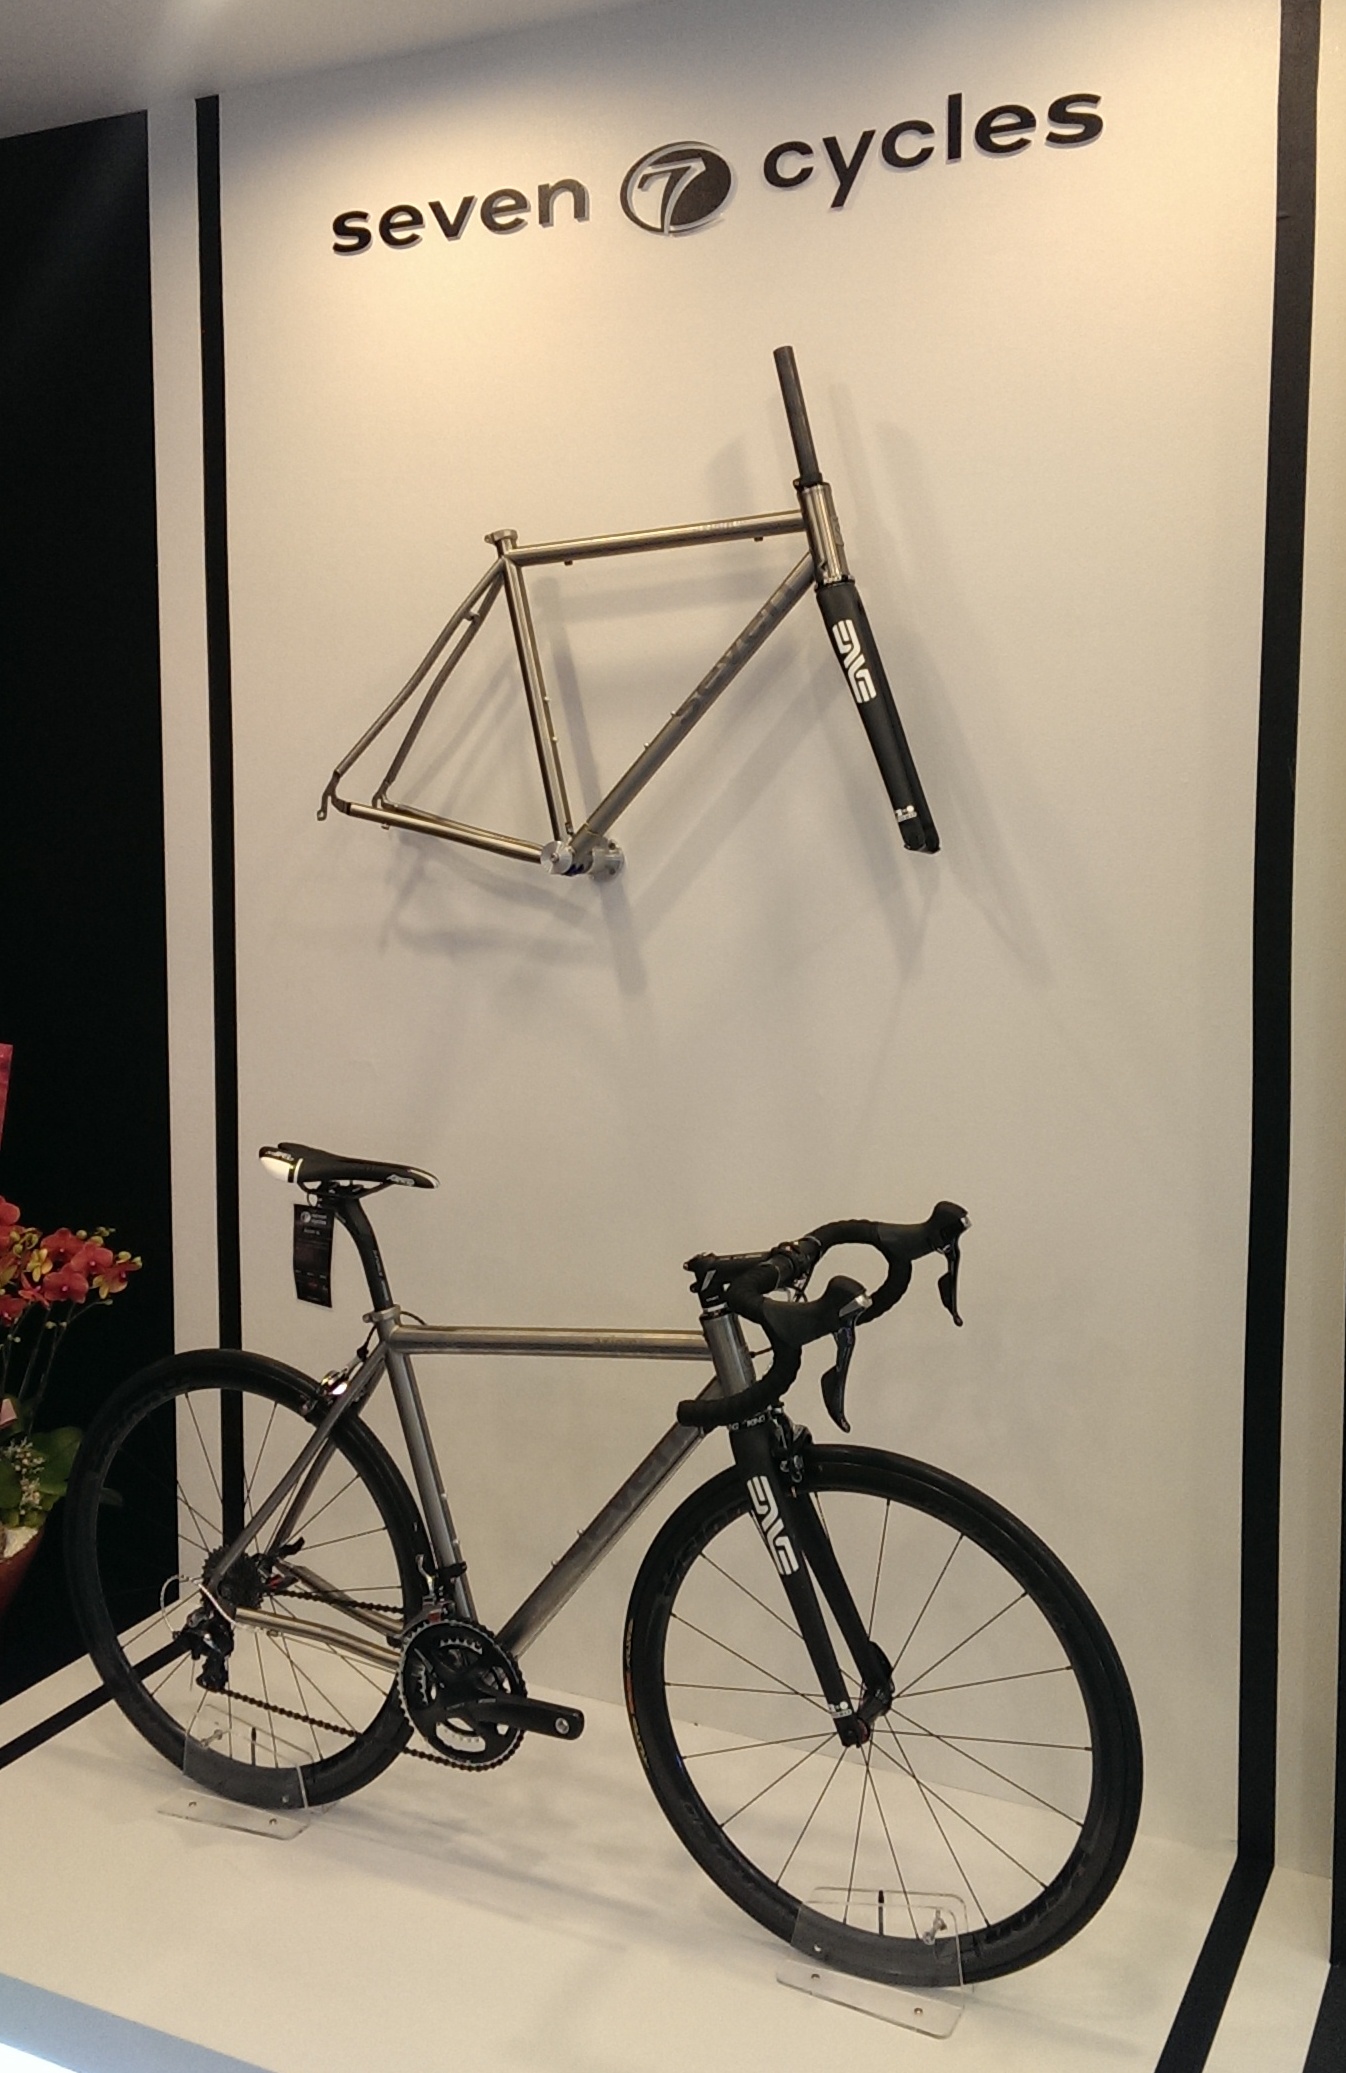
After taking a detour through the years of carbon fiber-mania, eccentric bottom brackets and hefty 4130 steel bikes, I approached my pals at Team Active. I told Dutch and Mike of my vision for the perfect pedal machine, and they knew the only possible way to “have it all†would be a project with Seven Cycles.
This was not my first custom build. I had worked with redacted, redacted and redacted on other frames. The difference and attention to detail was evident in the first steps of the process. The multi-page application and fit procedure covered everything from the length of the stem I rode last season to the distance between my clavicle and shoulder. Once my body measurements were taken, checked, and double-checked, Mike and I discussed my riding preferences as they related to the position on the bike. Flexibility, handling preferences and component selection were all considered. A couple of phone calls later and I was signing on the dotted line ready to start my custom build.
This is where my experience in custom frame building ends. My previous builds ended with the fit document, and 3 weeks later I had a fancy machine on my front porch.
The experience of Seven Cycles went beyond this traditional approach, and started with a phone conversation with Dan, their designer. This interview covered every bike I had ridden for the last 5 seasons, cyclocross course conditions in Michigan, tubing selection and ride quality. We talked about the advantages of an oversize head tube, pressfit bottom bracket and component selection options. Tire clearance, disc brake tab position, cable routing, frame angles and chain ring clearance were debated. We discussed the dropouts at length and compared the advantages of titanium over steel. The conversation put my mind at ease, and before seeing the frame, I knew it was going to be everything I was looking for.
A few days later I received the CAD sketches of my proposed frame design, along with tube length and angle measurements. Dan and I emailed back and forth, making some minor adjustments based on handling preferences, before settling on a final design that was tailored to my riding preferences and Seven Cycle’s meticulous fit methodology. The sketch was faxed to Mike at Team Active for another signature, and I was officially in the build “queue.â€
The waiting was horrible. Even with the snow covered asphalt and bitterly cold temperatures, I still dreamt of riding my new bike. I had the build kit, headset and wheels staged on the work bench with all the necessary tools for the build. I googled images of similar Seven builds, and checked my build progress on the Seven site daily.
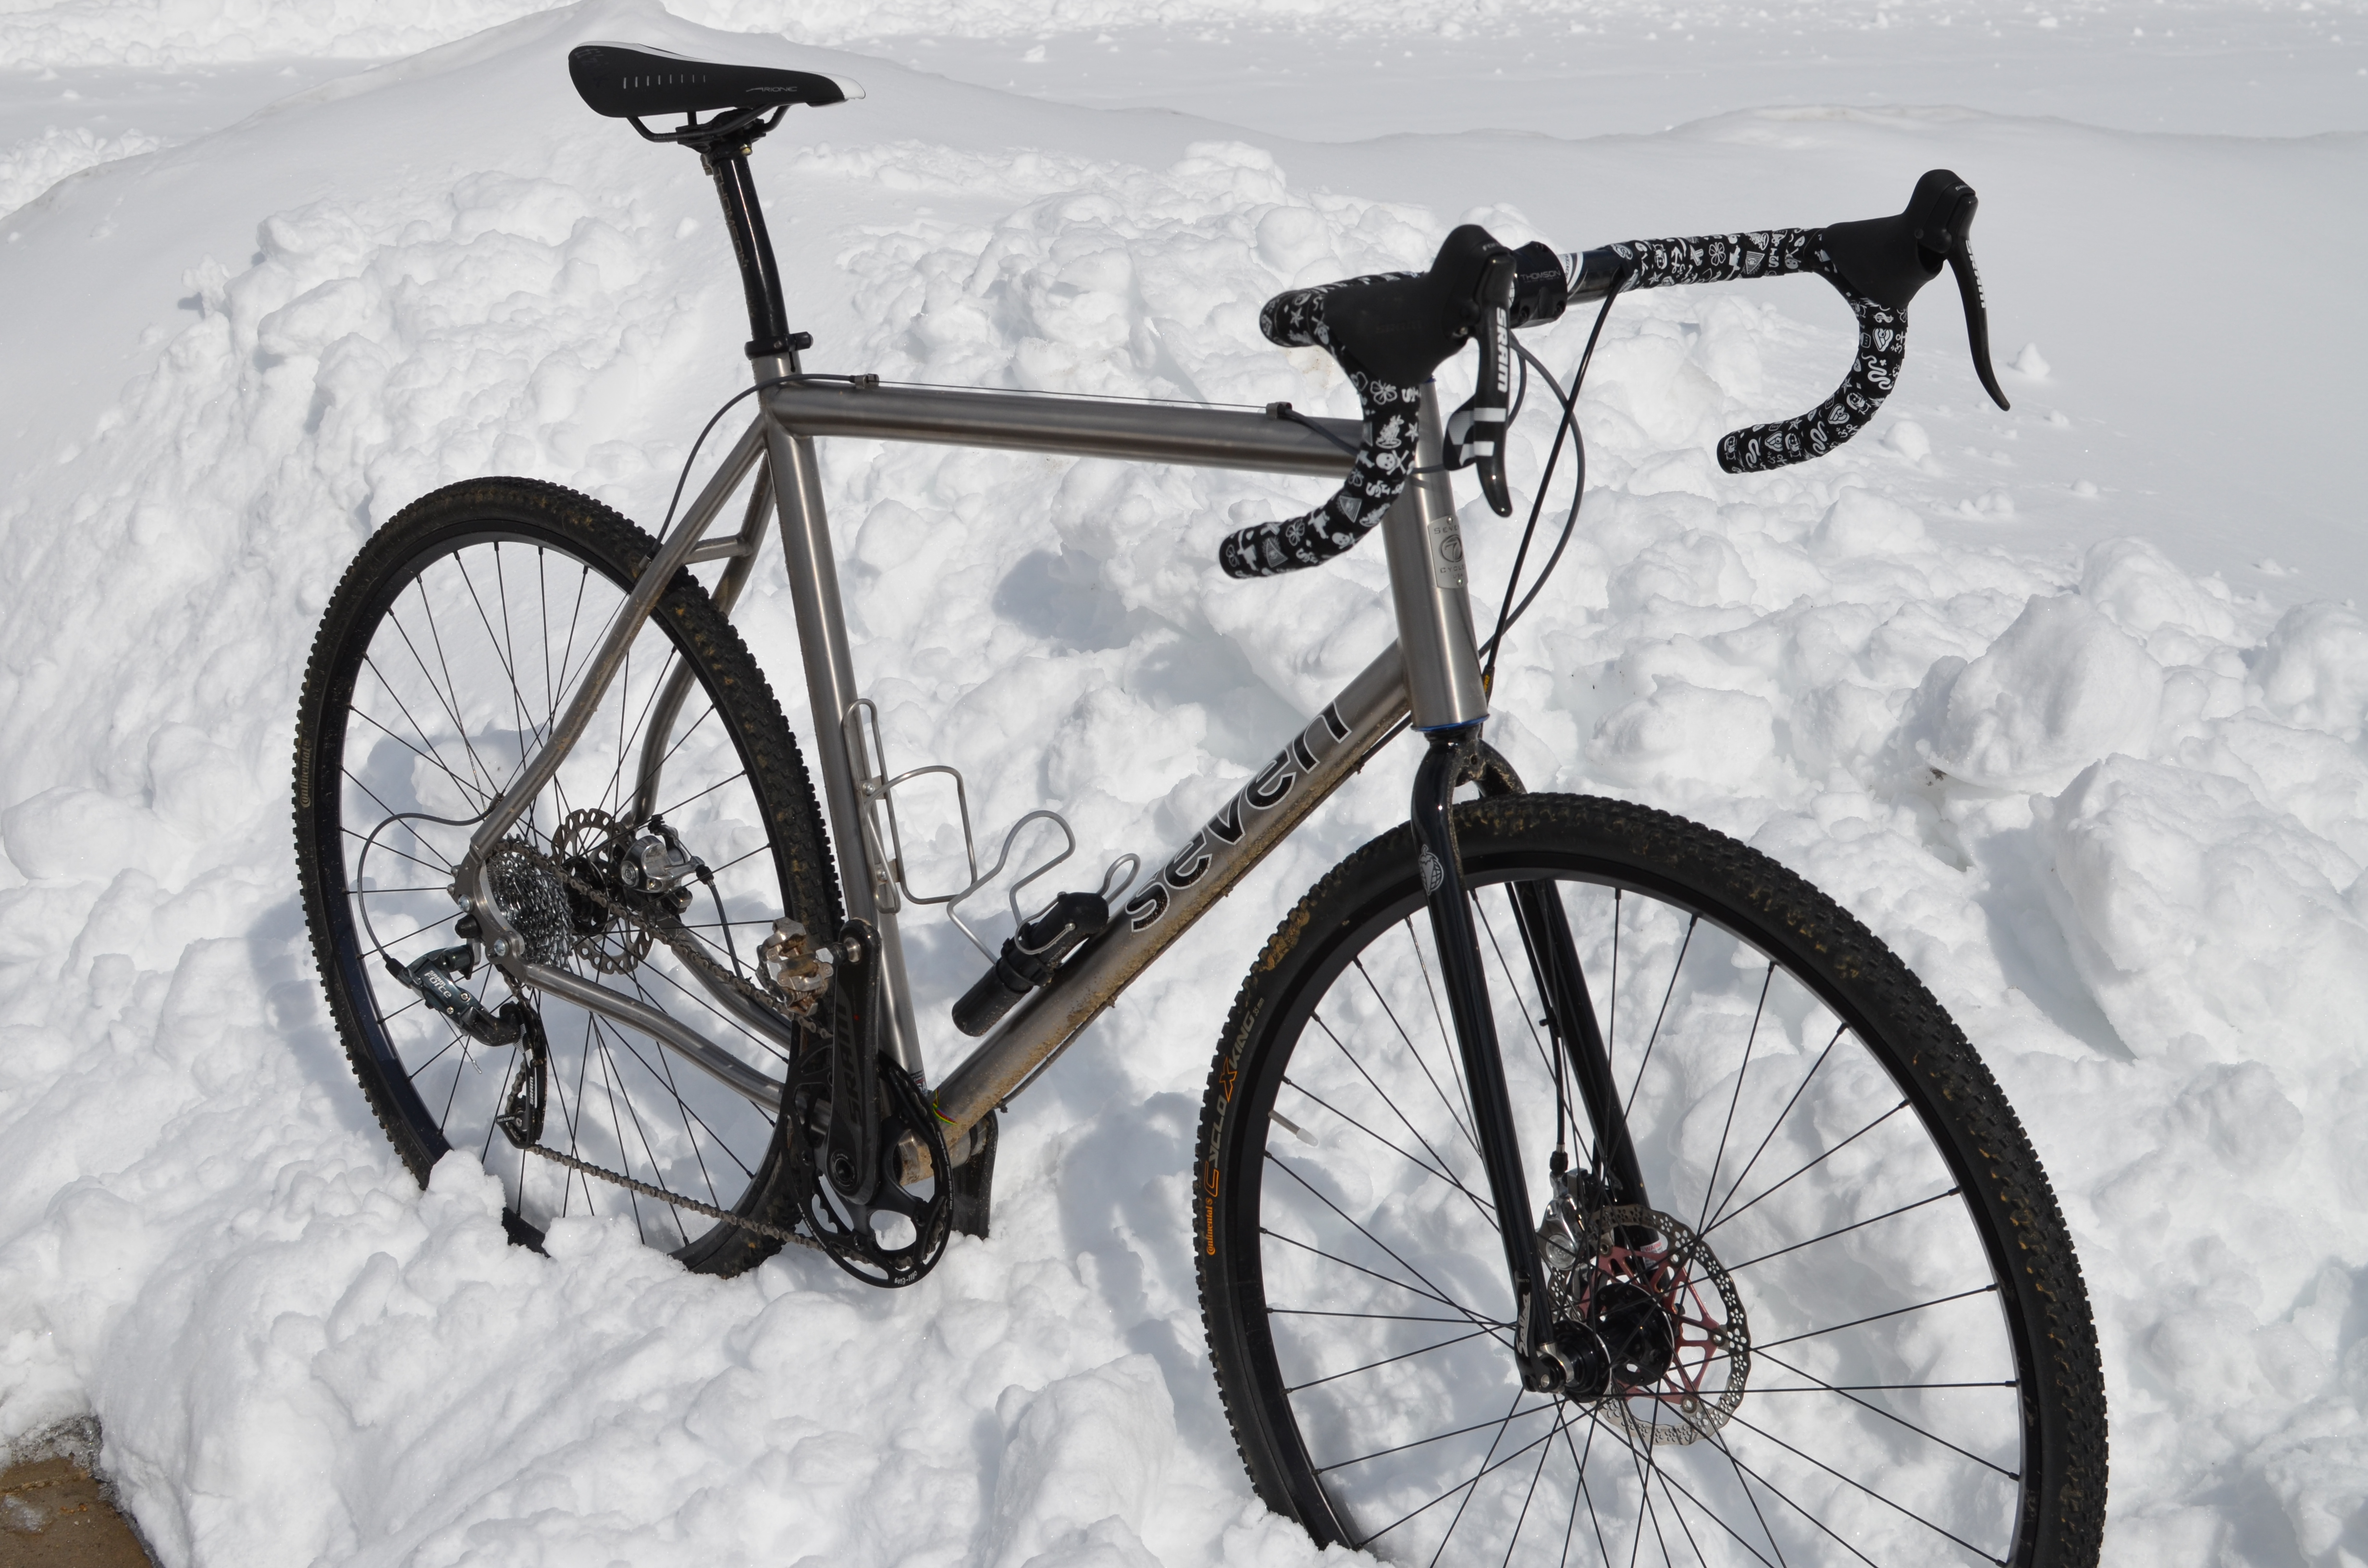
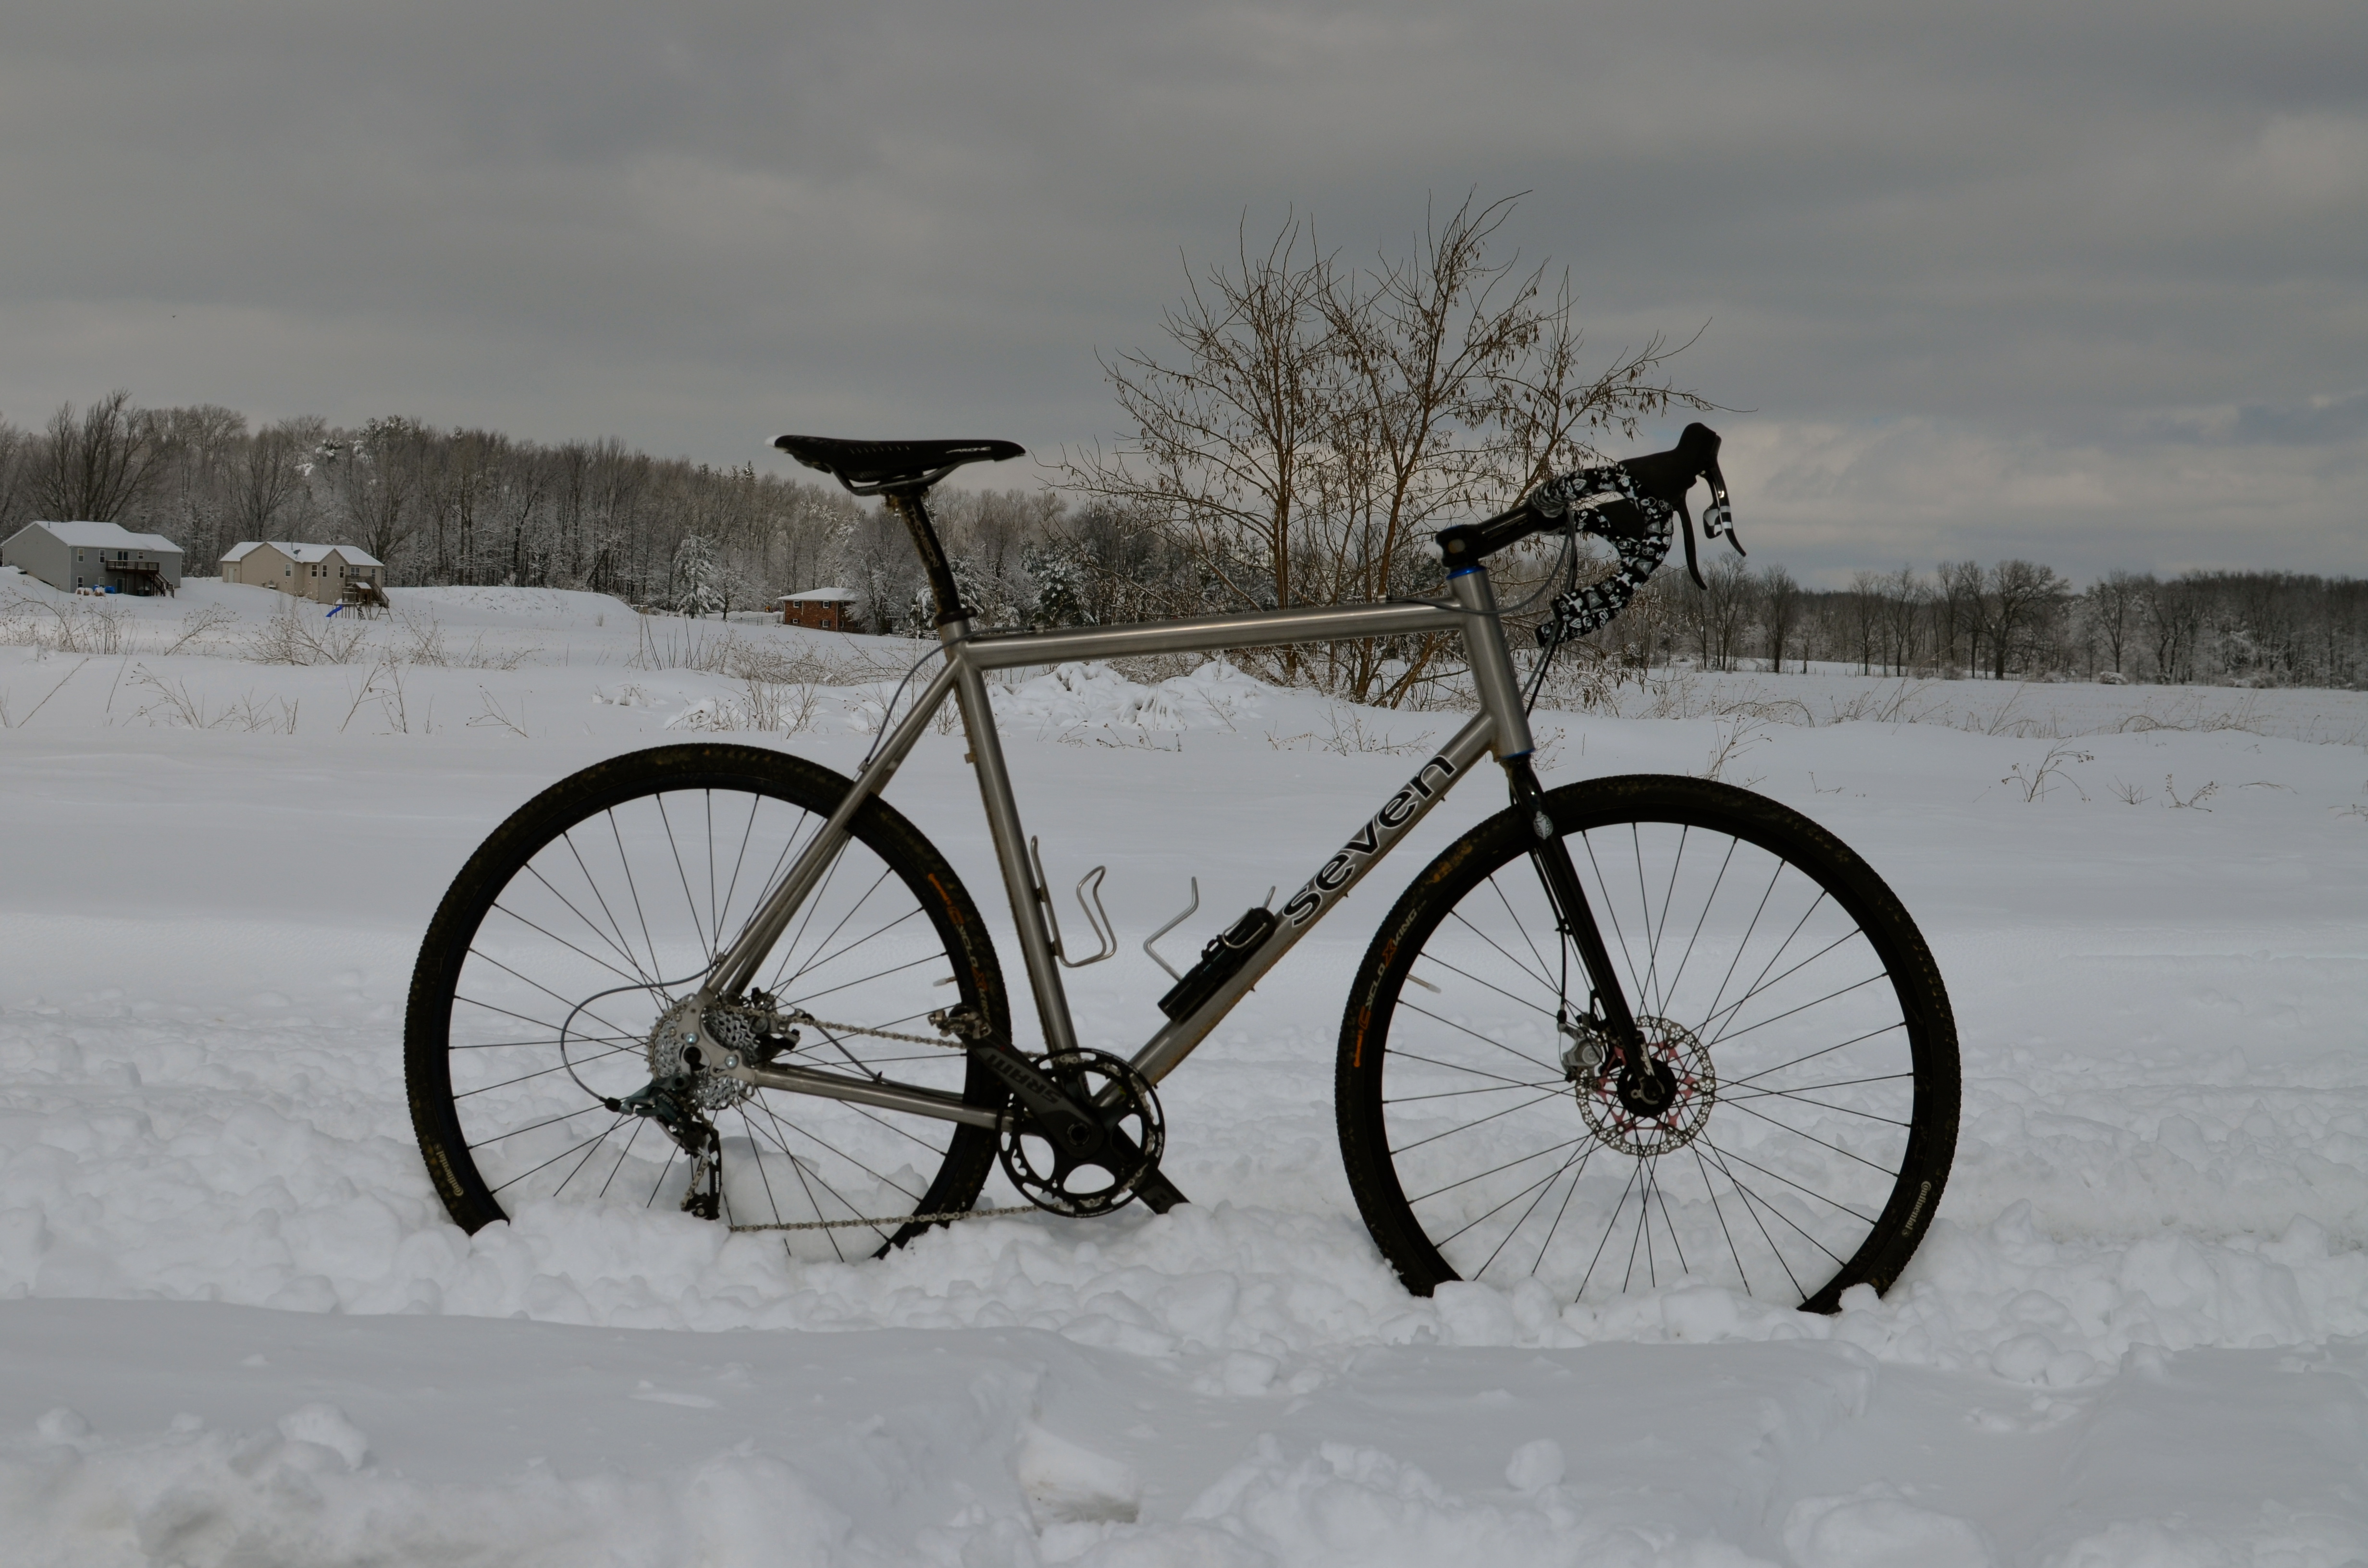
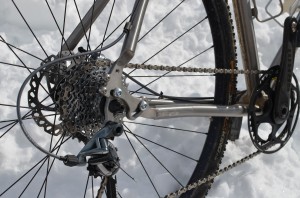
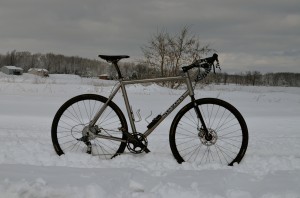
5 weeks and 3 days later the frame arrived. I was stuck home with a napping toddler when the call came, so Dutch at Team Active delivered it to my house so I could start the build. 1 x 10 SRAM drivetrain, Velocity USA hoops, Thomson cock pit, 3 New Belgium Fat Tire Ales and a Fizik saddle complimented the titanium finish nicely.
By biggest take away from working with Team Active and Seven Cycles was my role in the process. It was very much a team effort to to build a machine that exceeded my standards for performance, while maintaining an efficient and comfortable riding position.
– Dan F – Battle Creek, MI