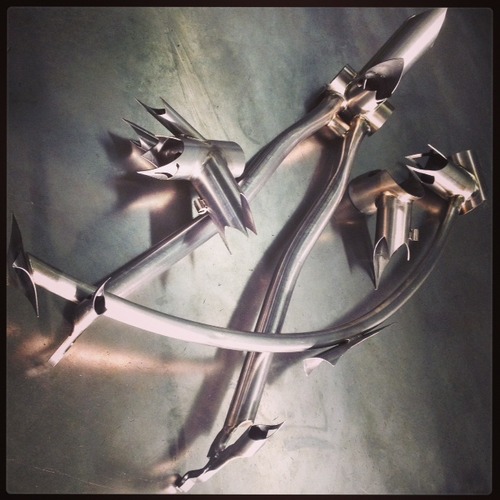
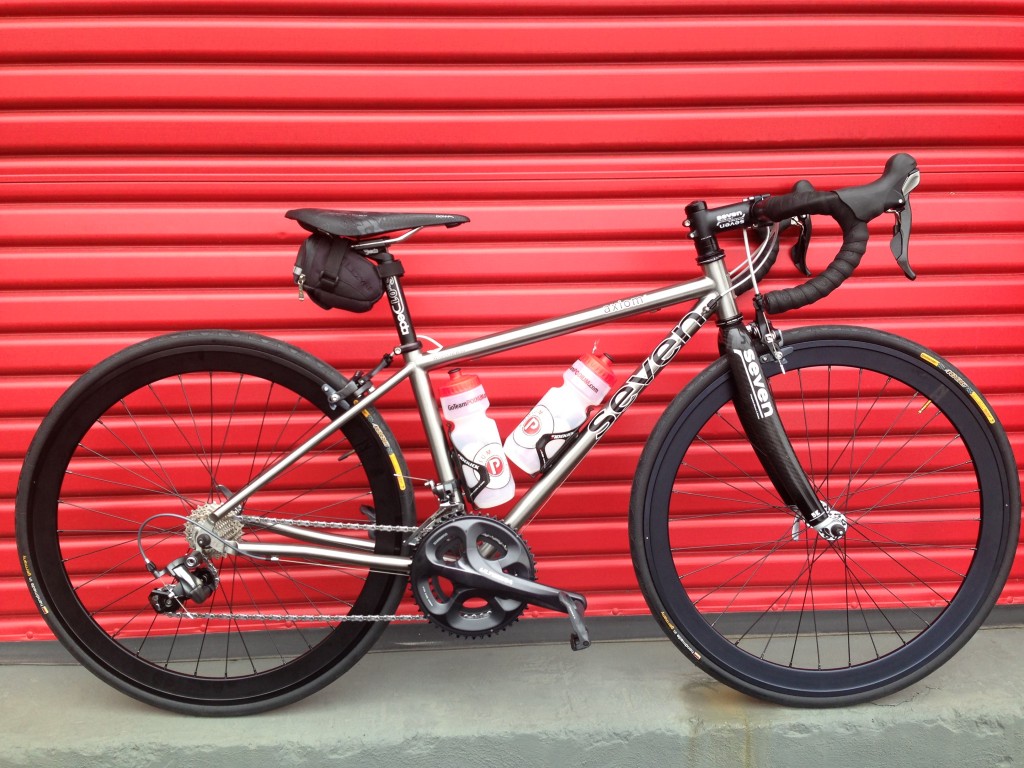
We’ve written a little about the design mission behind Patrick Brady’s ultimate travel bike, to recap and over simplify, it’s going to be a coupled bike that is capable of tackling road rides, off-road adventures, and rides that haven’t been dreamt up yet. This will be Patrick’s dedicated travel bike, so it has to be adaptable to whatever surfaces he rides on and still fit into an S&S case.
Packing a bike in a box, 26″ x 26″ x 10″, is an interesting project. Bikes are oddly shaped machines, and are far better off being pedaled to where they are going than being shipped. Adding S&S couplers to the bike is a huge help when packing, but more can be done, and that is exactly what Patrick and our design team focused on, once his fit was complete.
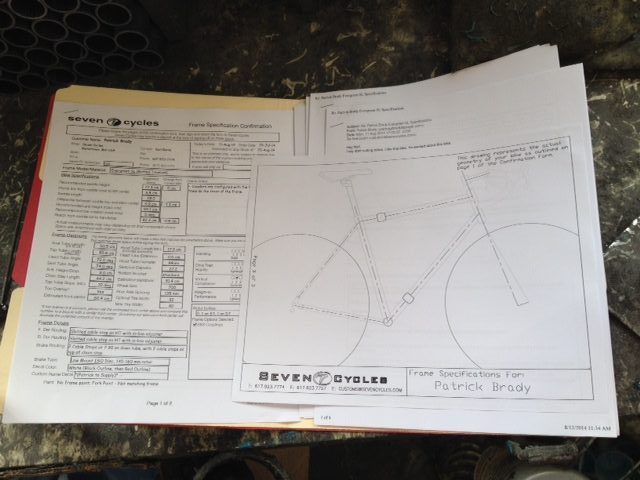
The plan was to design a frame that would take up as little room in the S&S case as possible without sacrificing the bike’s performance, then build the bike with components that were easy on, easy off. Starting with the frame, we made the following design choices:
- Top tube slope: A smaller frame, in general, fits in a case more easily than a large one. To make Patrick’s frame as compact as possible, we sloped the top tube ten degrees. This aggressive slope will leave more space in the case for other essentials without compromising performance or the number of water bottles he can use.
- Cable stops at Head Tube: Handlebars can be one of the trickiest pieces of the bike to pack. They are oddly shaped no matter how you position them, and the cables and housing sprouting off in all directions only adds to the struggle. Having a handlebar that isn’t attached to the frame, rear brake, or the derailleurs is a real advantage when packing a bike. By using slotted cable stops in lieu of barrel adjusters, and a set of DaVinci cable splitters, the handlebar can be freed from the bike with relative ease. While we would normally recommend barrel adjusters for on the fly derailleur adjustment, in this case they don’t allow for an easy way to detach the cables from the frame. Slotted cable stops eliminate this problem, and in-line cable adjusters will take care of any derailleur tweaks, so that is how we will outfit Patrick’s bike.
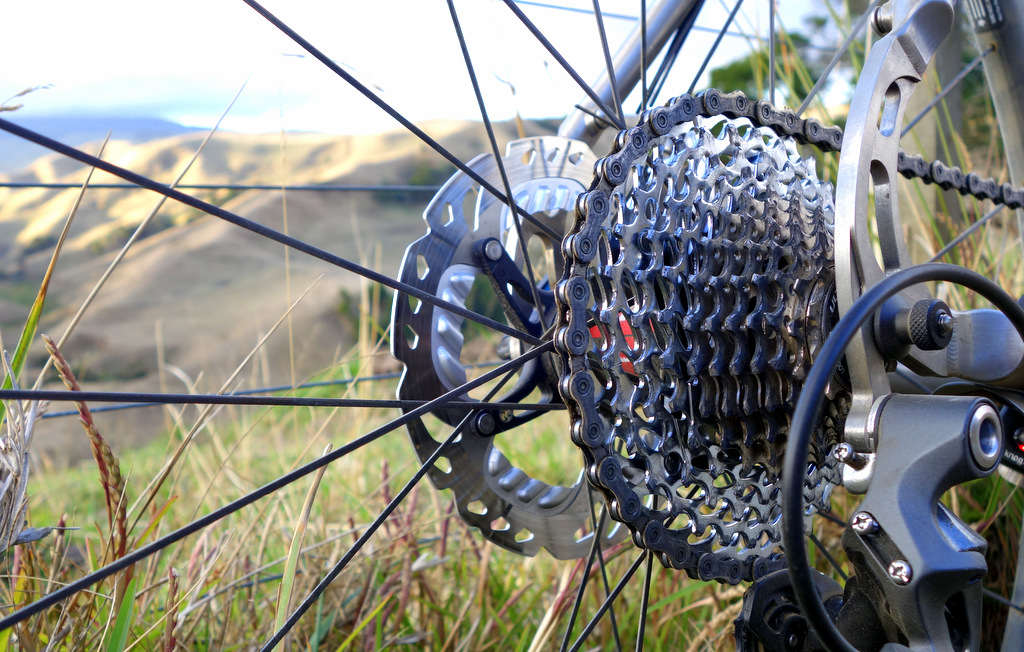
- Disc mount: Most Seven road bikes that are equipped with disc brakes and also don’t have rack or fender mounts, have the rear brake caliper mounted on the back of the seat stay, above the drop out. The logic behind this location is that the brake is perched on the outside of the frame making it easy to work on when needed, and allows for a traditional cable routing path, along the top tube and down the seat stay. In a cramped case, where every inch counts, we think the “low mount” disc brake location makes the most sense. Welded on top of the chain stay, the low mount positions the brake caliper within the frame’s rear triangle, not only protecting it from getting dinged in travel, but also freeing up more space in the case.
- Cable stops for Disc Brakes: When riders choose to run disc brakes, they often choose zip tie guides as the means to affix the housing to the frame. This set up allows for both mechanical and hydraulic brakes to be used, and leaves the option open to use either throughout the lifetime of the bike. We felt the serviceability of mechanical disc brakes made the most sense for Patrick’s travel bike today, and for many years to come. Once we came upon that decision, we could then make the switch to slotted cable stops, again adding to serviceability, and ease of assembly.
Once we begin building the bike, we’ll discuss some of the ideas behind Patrick’s component selection.


