Die-Cut Graphics Application Instructions
These instructions are for applying Seven's standard die-cut graphics. If you have Seven's dry transfer decals, these instructions will not work. Contact us if you have questions.
Graphics pack contents
- Two full sets of decals. We include a second set in case you have trouble applying any of the decals.
- Two sets of tubeset graphics and the Made in USA graphics.
- A piece of Scotch-Brite for touch up of tubing blemishes or discoloration. Type: very fine, color red.
- Application instructions for Seven's die-cut graphics.
Remove the old graphics
From titanium:
Assuming the graphics are Seven's standard design, the easiest way to remove them is to Scotch-Brite the decals, which removes their protective coating. Next, use acetone or fingernail polish remover and a lot of elbow grease to fully remove the graphics.
If a halo of different-colored titanium surface remains after decal removal, Scotch-Brite the area to eliminate the discoloration.
From carbon:
Assuming the graphics are Seven's standard design, use acetone or fingernail polish remover. This will require some elbow grease. Do not use Scotch-Brite because it will scuff the carbon finish.
From paint:
Do not do this. The graphic is under the clear coat.
Apply the new graphics
Each decal assembly consists of three layers:
- Thoroughly clean the surface with a degreaser like Simple Green. Next, use isopropyl rubbing alcohol to remove dirt, grease, and wax, making sure no soapy residue remains.
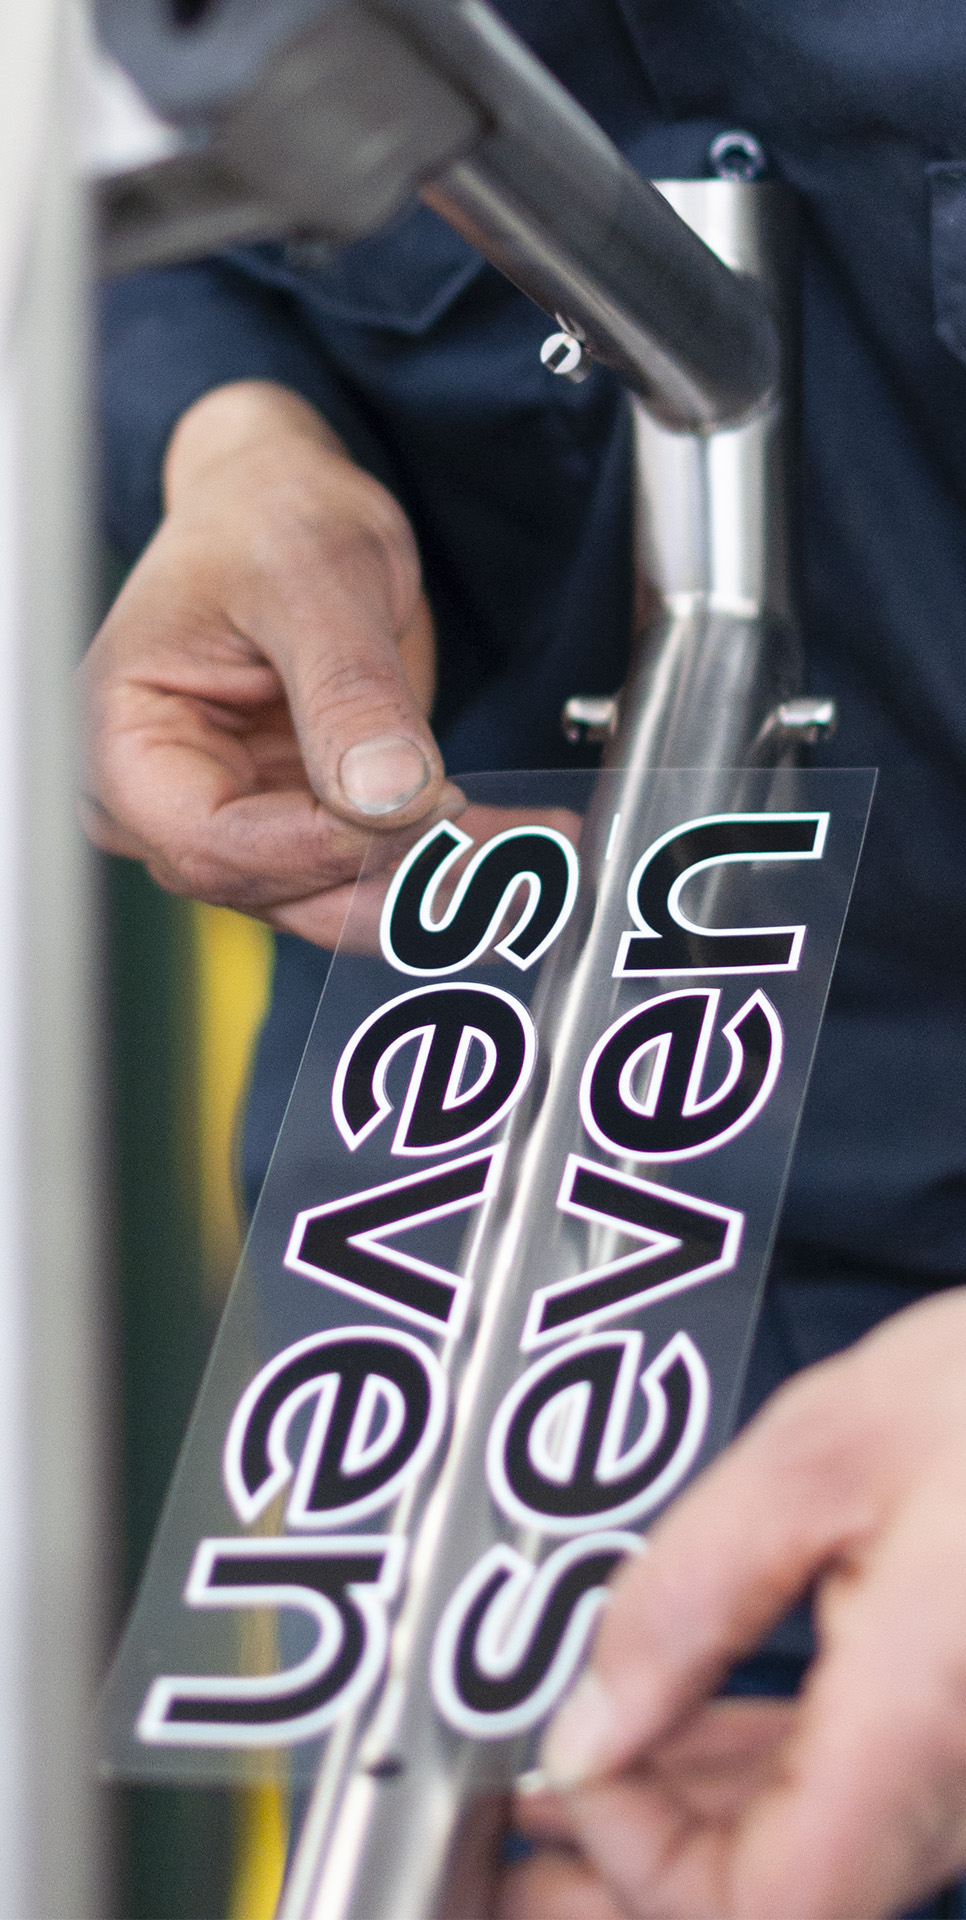
- For the down tube graphic, remove the bottom layer of the decal sheet, keeping the top application layer affixed. Holding the graphic assembly sheet, peel away the graphic from the backing sheet by folding a small corner of the backing to separate the graphic from the backing paper. Use your fingernail or the tip of an exacto knife to get a corner separated. Slowly and steadily peel the backing sheet off the clear burnishing protector sheet. Be careful while separating the stock so as not to damage the graphic. Make sure not to let the underside of the graphic get dirty.
- Position the graphic over the frame's surface, taking care to get the correct position on the first attempt. Touch down in the center of the graphic first and work your way outward.
- Once positioned, rub the decal with your fingers, starting from the center of the graphic and moving out to the edges, being careful not to trap air bubbles. Use your thumbnail to burnish the decal. This ensures the graphic adhesive will be set properly.
- Slowly peel away the top application layer for the down tube graphic.
- Once the graphic is mounted, tiny bubbles in the decal will disappear in about half an hour. Larger ones may be popped with a pin or an exacto knife and carefully burnished down. As with all pressure-sensitive decals, the bond takes several days to set.
- For the USA and tubing graphics, peel the backing paper from the graphic and apply.
- Finish the frame with a protectant like furniture polish or any bike-specific frame polish.